FRP grating installation looks straightforward — lay the panels on the support structure and fasten them down. But the details make the difference between a grating floor that lasts 20 years and one that buckles in the first summer, delaminates at the cut edges, or cracks around the fasteners within 18 months. FRP behaves differently from steel: it expands 3× more with temperature changes, it cuts with different tools, and its load capacity depends on the span direction. Here is the complete field guide.
Understand FRP Grating Basics: Molded vs Pultruded
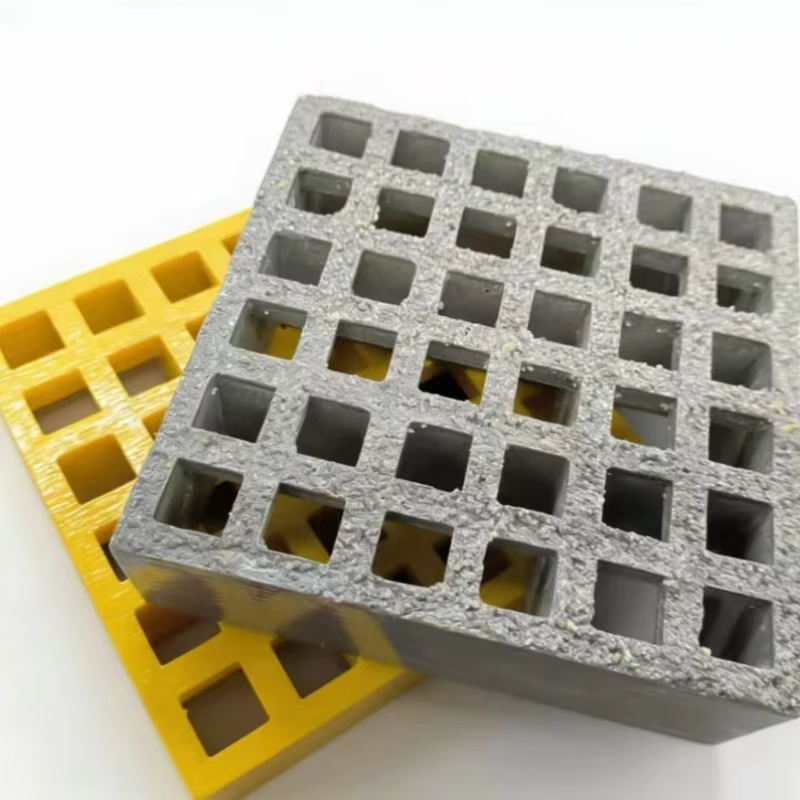
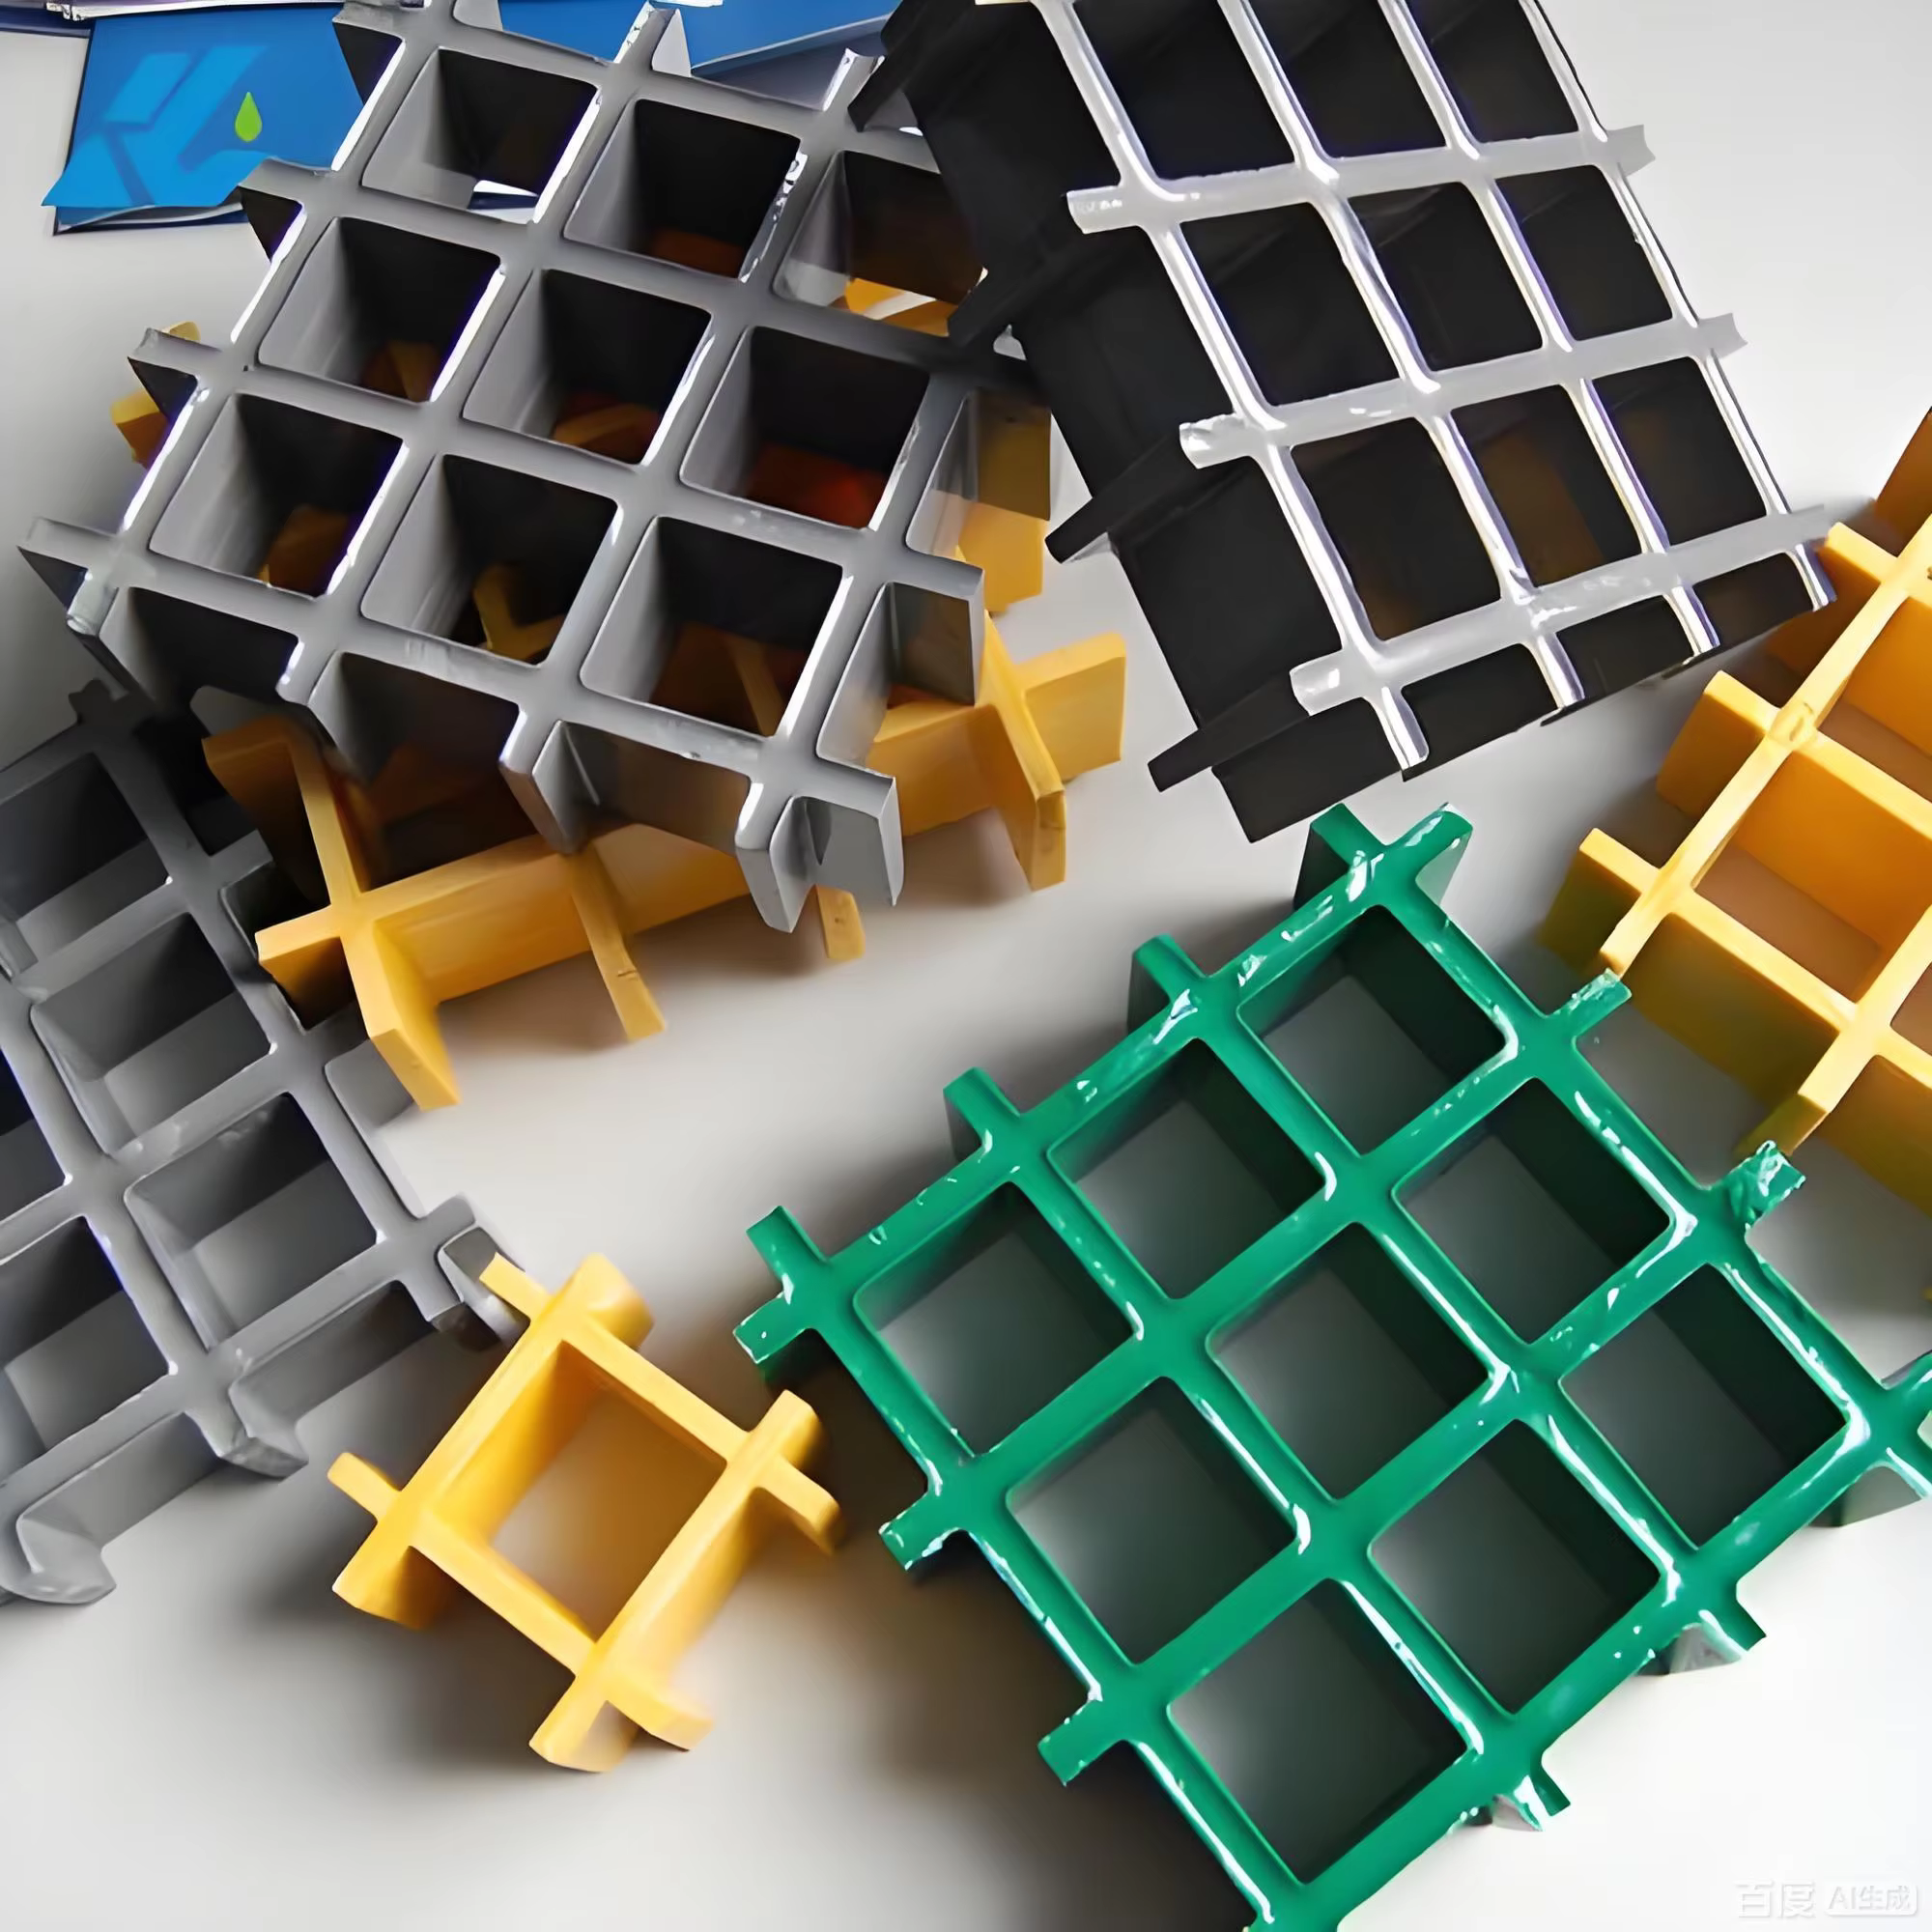
Molded FRP grating is made by laying continuous glass fiber rovings in a mold in two perpendicular directions, saturating with polyester or vinyl ester resin, and curing under heat and pressure. The result is a one-piece grid with integral cross-bars — there are no mechanical joints to work loose. The standard panel size is 1.0 m × 4.0 m or 1.2 m × 3.6 m, with thicknesses from 25 mm to 50 mm. The load-bearing direction is along the long axis of the rectangular openings. Installing a panel 90 degrees off from its intended span direction reduces its load capacity by 50–60% because the cross-bars, not the main bars, carry the load.
Step 1: Verify Support Structure and Span Requirements
FRP grating spans are shorter than steel for the same load because the material’s elastic modulus (10–15 GPa) is lower than steel’s (200 GPa). A 38 mm thick molded FRP grating panel rated for 5 kN/m² uniform load can span 1.2–1.5 meters between supports. Steel grating of the same thickness spans 1.8–2.0 meters. Before ordering FRP grating, verify the existing support beam spacing. If beams are on 1.8-meter centers, you need either 50 mm thick FRP panels (spanning 1.8–2.0 m) or additional intermediate supports. Do not install FRP grating on supports designed for steel span distances without checking the manufacturer’s span tables — this is the most common cause of FRP grating failures.
Step 2: Cut Panels to Fit — Tools and Technique
FRP grating cuts easily with carbide-tipped or diamond-grit tools. For straight cuts, use a circular saw with a diamond blade or a carbide-tipped blade with 40–60 teeth. A jigsaw with a carbide-grit blade handles curved cuts and notches around pipes and equipment. Cutting speed should be moderate — feed too fast and the resin melts and gums up the blade. Wear a respirator (N95 minimum), goggles, and gloves. FRP dust contains glass fiber fragments that are skin and respiratory irritants. Ideally, cut outdoors or with local exhaust ventilation. Cooling the cut with water suppresses dust completely and extends blade life.
Step 3: Seal All Cut Edges
This step is non-negotiable. Every cut edge exposes the ends of glass fibers. These exposed fibers wick moisture through capillary action into the laminate, where it causes swelling, delamination, and eventual structural degradation. Seal all field-cut edges with the resin kit supplied by the grating manufacturer — typically a two-part polyester or vinyl ester resin catalyzed with MEKP hardener. Apply with a disposable brush, working the resin into the cut surface until it has a uniform wet gloss. The sealed edge should cure for 30–60 minutes before the panel is installed. An unsealed edge in a wet environment will begin delaminating within 6–12 months.
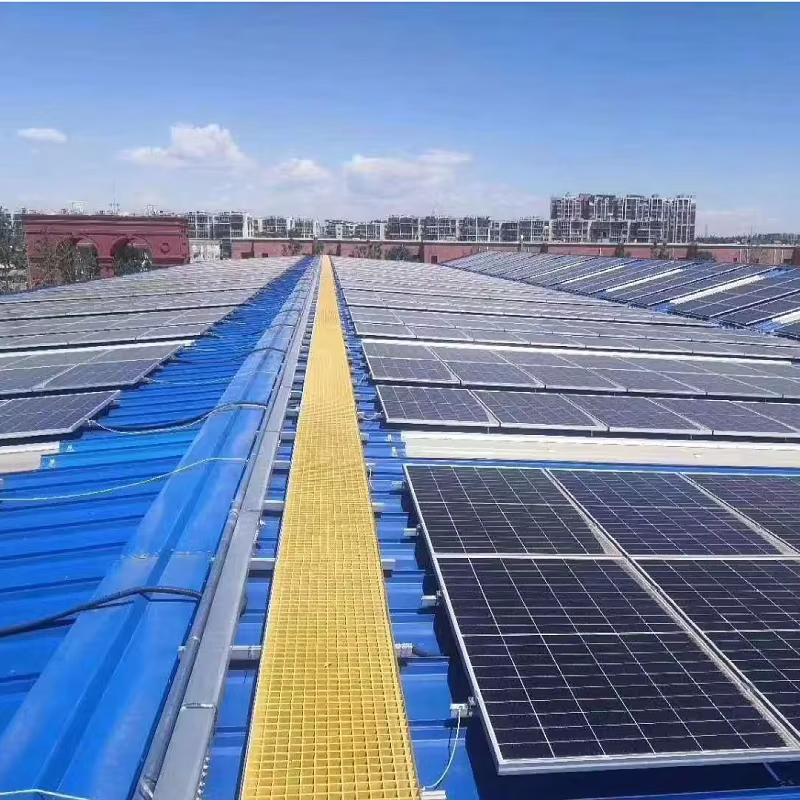
Step 4: Position Panels with Expansion Gaps
FRP expands and contracts with temperature changes approximately 3× more than steel. A 3-meter FRP panel installed at 10°C will expand by 3–5 mm when the temperature reaches 40°C in direct sun. If panels are butted tightly together at installation, they will buckle upward at the joints on a hot day — creating a trip hazard and overstressing the fasteners. Leave a 6 mm gap between panel edges for panels up to 3 meters long, or 3 mm per meter of panel length. The gap can be covered with a FRP nosing strip that bridges the joint while allowing movement.
Step 5: Fasten Panels to the Support Structure
FRP grating uses mechanical fasteners — it cannot be welded. Three fastening systems are standard: (1) M-clips (saddle clips) that clamp the grating bearing bars to the support flange — the most common, suitable for most installations; (2) hold-down bolts through the grating panel into tapped holes in the support — used where uplift from wind or vibration is a concern; (3) interlocking clips between adjacent panels — used on raised flooring or platforms where access from below is not possible. All fasteners must be stainless steel (316L minimum for chemical environments). Carbon steel fasteners will rust and stain the FRP grating within months, creating a cosmetic and structural problem.
Common Pitfalls to Avoid
Installing panels in the wrong orientation — with the span direction perpendicular to supports — is the number one failure cause. Every panel is marked with the span direction; verify before fastening. Second, over-tightening fasteners cracks the FRP around the hole. Use a torque wrench set to the manufacturer’s specification (typically 15–25 Nm for M10 bolts) — not an impact driver. Third, walking on unsecured panels during installation can shift them out of position and damage the support coating. Install fasteners as you go, working from the installed area outward. Fourth, using carbon steel fasteners in outdoor or wet installations guarantees rust staining within the first year. Fifth, failing to seal field-cut edges is an invisible problem that destroys the grating from the inside out — you will not see the delamination until the panel is already weakened.
FRP Grating Fastener Selection Guide
| Fastener Type | Best For | Material | Installation Tool | Removable? |
|---|---|---|---|---|
| M-Clip (Saddle Clip) | Standard grating flooring | 316L SS | Torque wrench (15–20 Nm) | Yes |
| Hold-Down Bolt | Wind uplift areas, vibrating equipment | 316L SS | Torque wrench (20–25 Nm) | Yes |
| Interlocking Clip | Raised access flooring | 316L SS | Rubber mallet | No (permanent) |
| Corner Clamp | Stair treads, nosings | 316L SS | Torque wrench (10–15 Nm) | Yes |
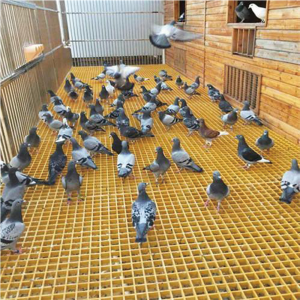
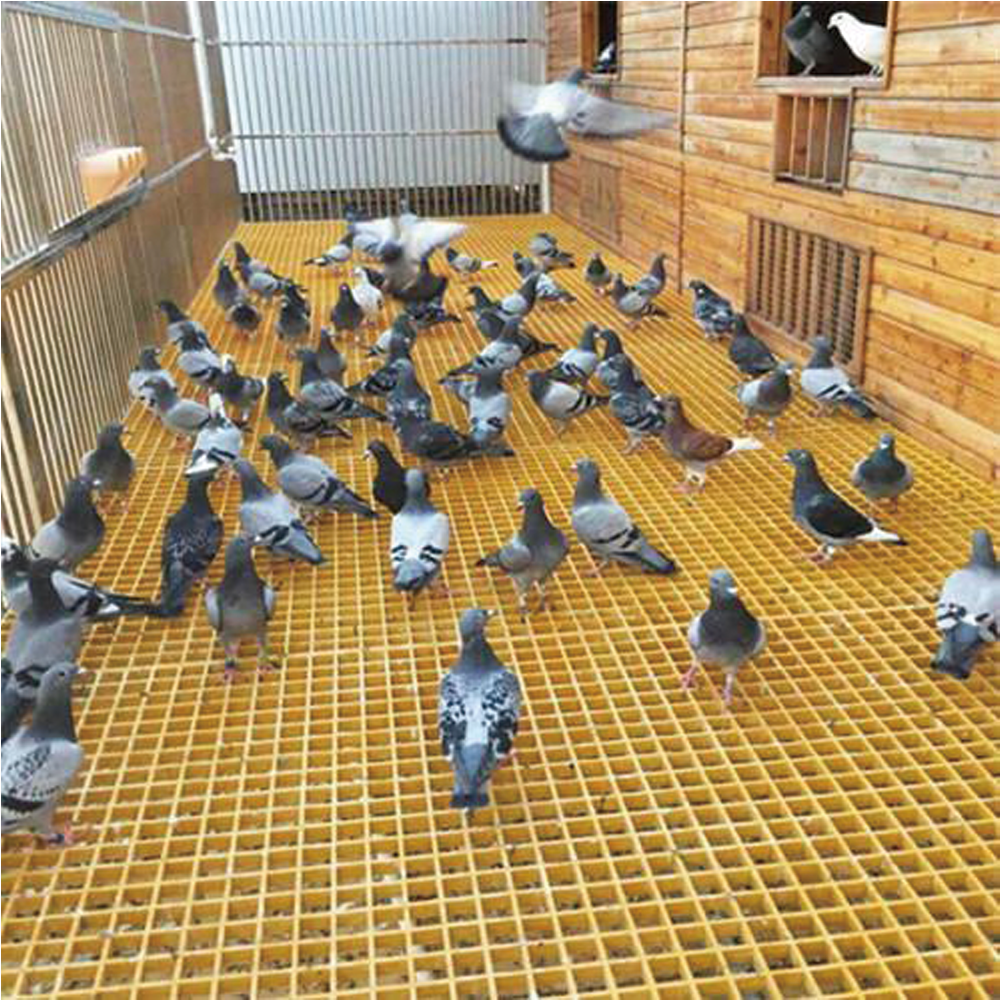
FRP TSTAR supplies molded and pultruded FRP grating for chemical plants, water treatment facilities, offshore platforms, and industrial flooring. Standard and custom panel sizes with isophthalic polyester, vinyl ester, or phenolic resin systems. Full installation support including span calculations, fastener specifications, and on-site training available.